Clean, lubricated blades cut more predictably and generate less friction than blades packed with hair. Maintenance also makes it easier to notice damaged teeth, poor alignment, corrosion or a worn drive before the clipper is used on a dog. The instruction manual for your exact clipper remains the controlling source because washable parts, blade-removal methods and oil points vary.
After-each-use routine
- Remove the guide comb and detachable blade only as directed in the manual.
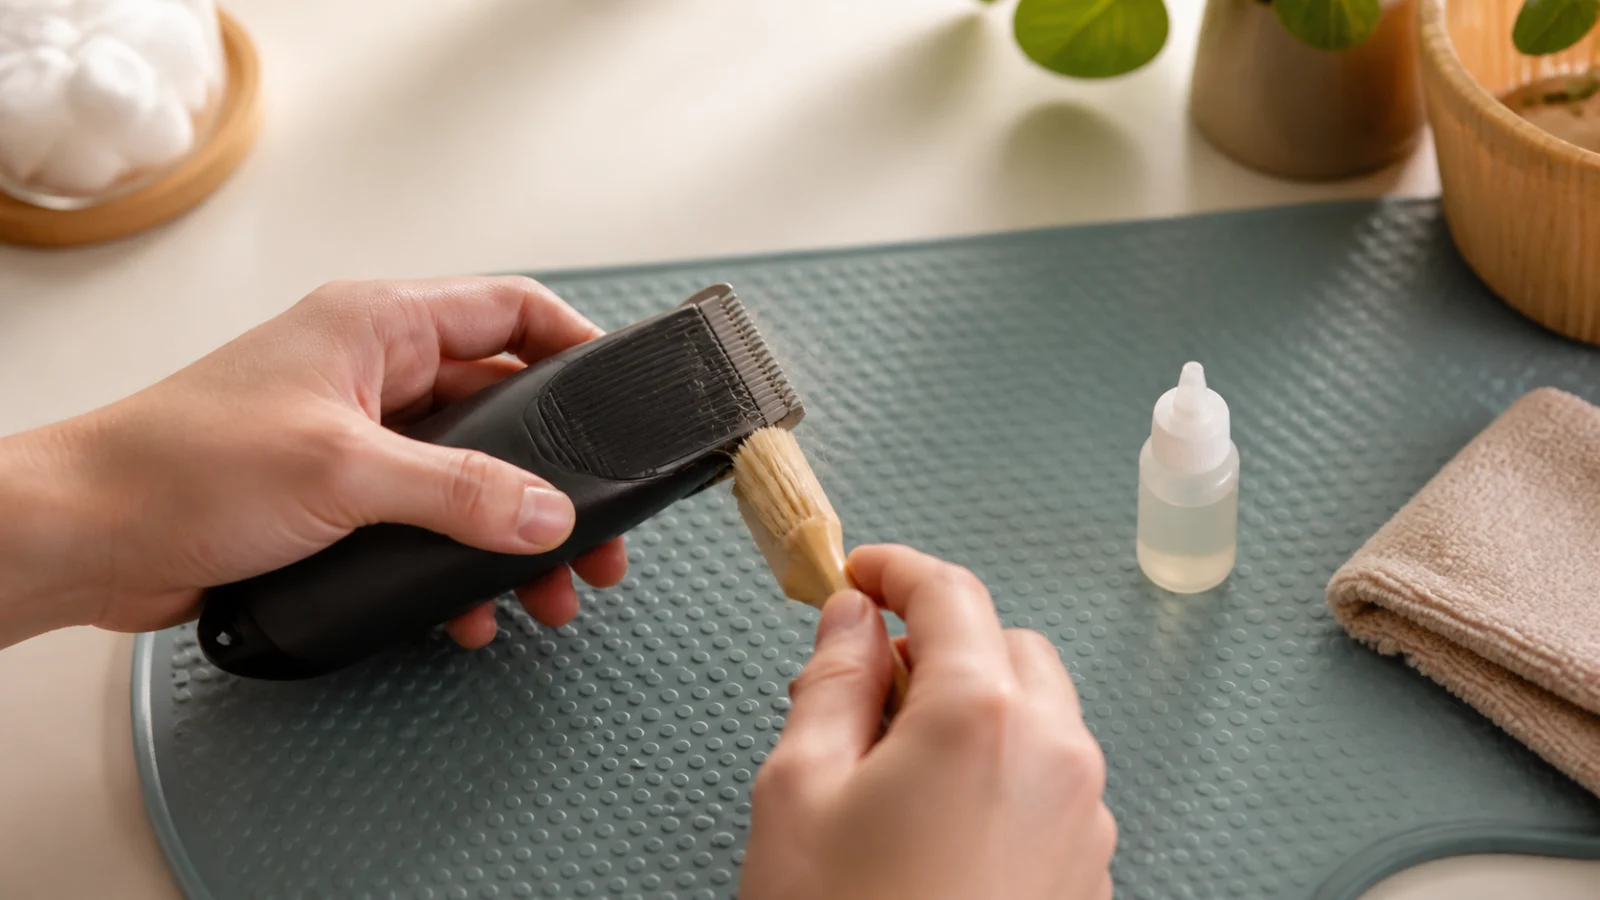
- Use the supplied blade brush to remove hair from teeth, rails, combs and accessible housing vents.
- Inspect for bent or missing teeth, rust and misalignment.
- Apply the specified clipper oil at the manufacturer’s oil points.
- Reassemble, briefly run the clipper to distribute oil if instructed, then switch off and wipe excess with a soft cloth.
- Replace the blade guard and store the dry tool where the cord cannot kink.
Why ordinary household oil is a poor substitute
Clipper manufacturers specify lightweight blade oil formulated for the moving surfaces. Hair oil, heavy grease and solvent-containing mixtures can attract debris or damage the tool. Wahl’s maintenance guidance also warns against using water on non-washable blades. Use only a cleaner, disinfectant or coolant that the clipper and blade manufacturer approves, and follow its contact time and drying directions.
Where to place oil
The exact pattern varies. Many adjustable blade instructions call for drops across the front cutting surface and at the heel or sides while the blade is oriented safely, followed by a brief run and removal of excess. More oil is not better: liquid that migrates into a motor or onto a coat creates new problems. Follow the diagram supplied with your model.
Heat management is part of maintenance
Friction warms blades even when the clipper is working normally. Check temperature frequently against the inside of your wrist. Stop before the blade feels uncomfortable, switch to a cool blade or allow the tool to cool according to instructions. A spray should never be used to justify continuing with a blade that remains hot.
When cleaning is not enough
| Symptom | Possible cause | Next step |
|---|---|---|
| Hair pulls or folds | Dull/dirty blade, coat not prepared, worn drive | Stop; clean and test off the dog, then sharpen or service |
| New vibration or rattling | Loose blade, worn drive or damaged part | Disconnect and inspect per manual; arrange service |
| Blade heats unusually fast | Friction, poor lubrication, alignment or wear | Stop using it on the dog and troubleshoot when cool |
| Damaged tooth or corrosion | Impact, moisture or wear | Replace or professionally service the blade |
Keep a simple maintenance log
For multi-dog households, record the date, blade used, cleaning performed and any heat or cutting problem. Rotate blades rather than waiting for one to fail during a session. Our dog clipper guide explains serviceability and replacement-blade availability; the blade-size guide covers cutting systems.
Manufacturer references
Frequently asked questions
Can dog clipper blades be washed in water?
Only if the exact manufacturer instructions say the blade or attachment is washable. Many clipper blades and bodies must not be cleaned with water.
How often should blades be oiled?
Follow the manual. Many manufacturers call for regular oiling during or after grooming, but oil points and frequency differ by design and workload.
Can I keep clipping if the blade is warm?
No. Check it frequently and stop before it becomes uncomfortable. Rotate to a cool blade or allow proper cooling.