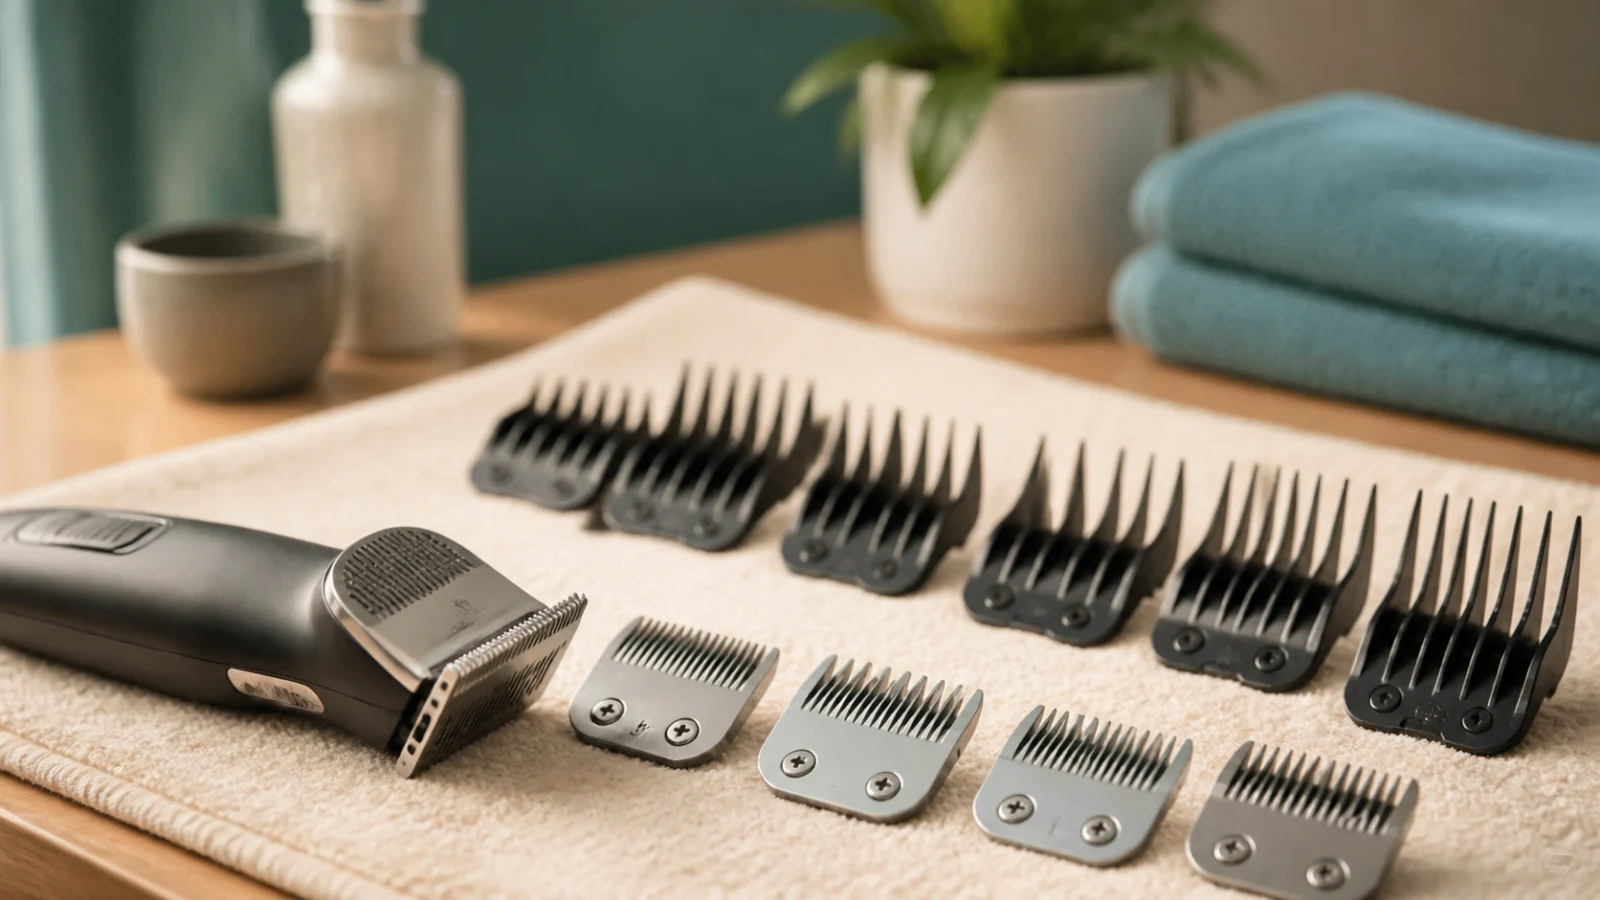
Clipper blade numbers are easy to misread: with many detachable-blade systems, a higher blade number leaves less coat. But the final length also depends on the manufacturer, blade family, guide comb, coat preparation, direction of travel and whether the coat is clean, dry and fully combed. Treat every number as a system-specific specification—not a promise of an identical finish on every dog.
Blade versus guide comb
| Component | What it does | Best use |
|---|---|---|
| Bare blade | Sets a close base cutting length | Professional patterns, sanitary/detail work, or manufacturer-specified use |
| Guide comb | Fits over a compatible blade to leave more coat | Longer, more forgiving body lengths on prepared coat |
| Detail trimmer | Uses a narrow cutting head | Small, visible areas when the dog is steady |
Why numbers run in the “opposite” direction
In common detachable systems, lower-numbered blades generally leave more hair and higher-numbered blades cut closer. Exact millimeter or inch measurements belong to the manufacturer’s chart for that exact blade. Do not copy a chart from one brand or blade series onto another. Verify compatibility between clipper, blade and guide comb before switching on the tool.
Coat preparation changes the result
A guide comb cannot glide reliably through packed undercoat or knots. Bathe only after manageable tangles are removed, rinse thoroughly, dry completely, brush in sections and finish with a metal comb. If the comb catches, the clipper will also catch or produce an uneven finish. For severe mats, read when not to clip matted hair at home.
With the grain or against it?
Travel direction affects finish. Moving with hair growth usually leaves more coat and a softer result; moving against growth can cut closer. Skin must remain flat without pulling, and pressure should stay light. Begin in a broad, uncomplicated area so you can evaluate the result before approaching legs, face or skin folds.
A conservative selection process
- Read the exact blade and comb chart supplied by the manufacturer.
- Choose a longer test length than the final target.
- Check that blade teeth are intact and correctly aligned.
- Prepare a clean, dry, comb-through coat.
- Make a short test pass on a broad body area.
- Stop frequently and check blade temperature against the inside of your wrist.
- Switch to a cool blade before it becomes uncomfortable.
Match the hardware to the job
Adjustable blades are convenient for detail work and comb attachments; detachable blades make it easier to change lengths and rotate cool blades during a longer session. Coat density, dog size, noise sensitivity, blade availability and serviceability matter more than a long accessory list. Compare these factors in our home dog clipper guide, poodle clipper guide and thick-coat clipper guide.
Frequently asked questions
Does a higher blade number leave more hair?
Usually the opposite in common detachable systems: a higher number often cuts closer. Always verify the chart for the exact manufacturer and blade family.
Can a guide comb go through mats?
No. A guide comb needs a clean, dry coat that can be combed through. Forcing it through tangles pulls hair and can bring folded skin toward the cutting teeth.
Why does the blade leave lines?
Common causes include incomplete coat preparation, inconsistent direction or pressure, a dull or dirty blade, poor blade alignment, or a guide comb that is lifting away from the coat.
Sources and editorial notes
- American Kennel Club: Dog Grooming at Home
- VCA Animal Hospitals: Grooming and Coat Care for Your Dog
- AKC National Core Professional Dog Grooming Educational Standards
PetUpon provides general educational information. A veterinarian or experienced professional groomer should assess painful skin, extensive matting, wounds, infection, unusual lumps, or a dog that cannot be handled safely.