If you need to clean canister filter media because the outlet flow has dropped, start with the intake and hoses. Remove leaves from the strainer and straighten any kinks. If flow is still weak, service the mechanical media first and keep the established biological media wet.
What to check before you clean canister filter media
Have a bucket for aquarium water, a shallow tray for drips, towels and a soft brush. Keep your model’s manual nearby. Valve sequences, basket layouts and priming procedures vary. If you’re unfamiliar with the layout, take a photo as you remove the baskets.
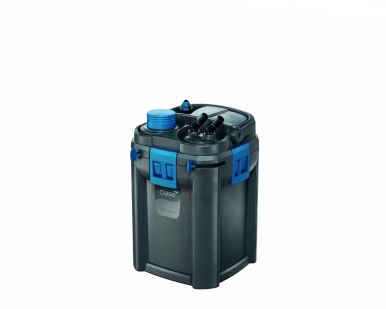
1. Unplug and isolate the canister
Unplug the filter with dry hands. Follow the manual to close the valves and disconnect the hoses. Move the canister upright to a tray or sink. Release the motor head only after isolating the canister from the aquarium.
2. Clean the media according to its job
| Media | What to do |
|---|---|
| Reusable foam | Rinse out loose debris. If the foam also serves as biological media, use water removed from the aquarium. |
| Ceramic rings or other established biological media | Keep the media wet in removed aquarium water. If debris is blocking it, gently rinse it in that water and return it to the basket. Avoid replacing the whole batch together. |
| Fine polishing pads or chemical media | Check the manufacturer’s guidance. Some pads are disposable, and rinsing spent adsorbent media does not restore its capacity. |
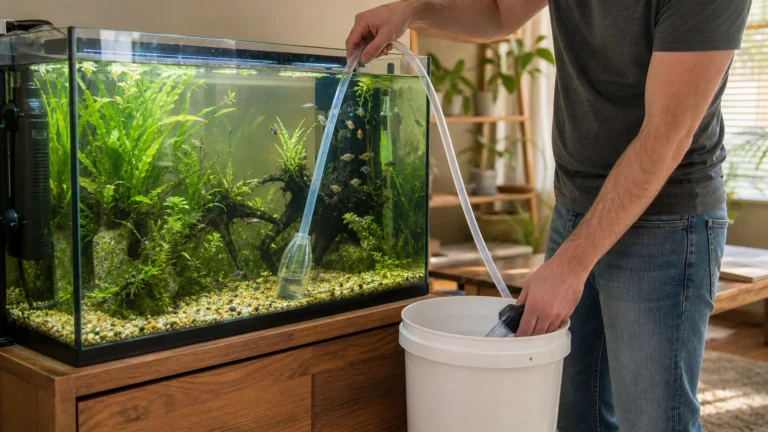
Keep soap and household cleaners away from parts that contact aquarium water.
3. Check the parts that control flow
Remove debris from the intake strainer. Check hoses for buildup if flow was poor before cleaning. If your manual calls for impeller service, remove and clean it as directed. Handle ceramic shafts gently. Check the main gasket for trapped grit, damage or twisting before closing the canister. Use only the lubricant specified for your model.
4. Reassemble, prime and restart
Seat each basket and the motor head evenly. Reconnect the hoses and follow the model-specific valve and priming instructions. Restore power once the filter is primed. Confirm there is steady output and check the hose connections and lid seam for drips. Recheck the cabinet after the filter has been running for a few minutes.
If the canister leaks, unplug the filter safely and isolate it following the manual. If it rattles or produces little flow after restarting, check for trapped air, a closed valve, a kinked hose or an improperly seated impeller. Stop and troubleshoot before letting a filter run without normal flow.
How often should you clean it?
A quick restart checklist
- The outlet is delivering a steady stream, with no persistent rattling.
- The lid seam, valves and hose connections are dry.
- Both hoses follow a smooth path without sharp bends.
- The established biological media is back in its basket.
How often should you clean it?
Start with the manufacturer’s maintenance schedule. Note what the outlet flow looks like after a normal restart so you can recognize a meaningful drop later. Tanks with more suspended debris may need the intake or mechanical stage cleaned more often than the rest of the canister. Keep a short maintenance log so you can see which part clogs first.
See our canister filter buying guide for factors that affect maintenance access, or compare canister, hang-on-back and sponge filters if you’re reconsidering your setup.
Manufacturer references: Fluval 07 Series FAQ and Fluval 07 Series user manual.
Track what changed after cleaning
Write down the date, which basket collected the most debris, and whether outlet flow improved. If flow drops again soon, look for recurring obstructions such as plant leaves around the intake or fine pads loading with debris. Record the condition of the gasket separately so you can distinguish a flow problem from a sealing problem at your next service.
When cleaning does not restore flow
- Flow stays weak: Check that the intake is submerged and clear, the valves are open, and the media baskets sit flat. Overpacked media can restrict water movement.
- Output pulses or spits air: Follow the manual to purge trapped air. Check that the intake is deep enough to avoid drawing air from the surface.
- A leak appears at the lid: Stop the filter safely. Check the seal and seating surfaces for dirt, twisting or damage. Consult the manufacturer before using the unit again if any part is damaged.