Aquarium heater sizing depends on more than gallons. The required temperature rise above the coldest room temperature, tank shape, lid, circulation and heater design all affect performance. Use the exact manufacturer chart as the primary sizing reference.
Sizing inputs
| Input | Check |
|---|---|
| Actual water volume | Subtract substrate and hardscape displacement |
| Temperature rise | Target water temperature minus coldest room temperature |
| Circulation | Warm water must distribute around the tank |
| Redundancy | Large tanks may benefit from two smaller correctly controlled units |
Placement and setup
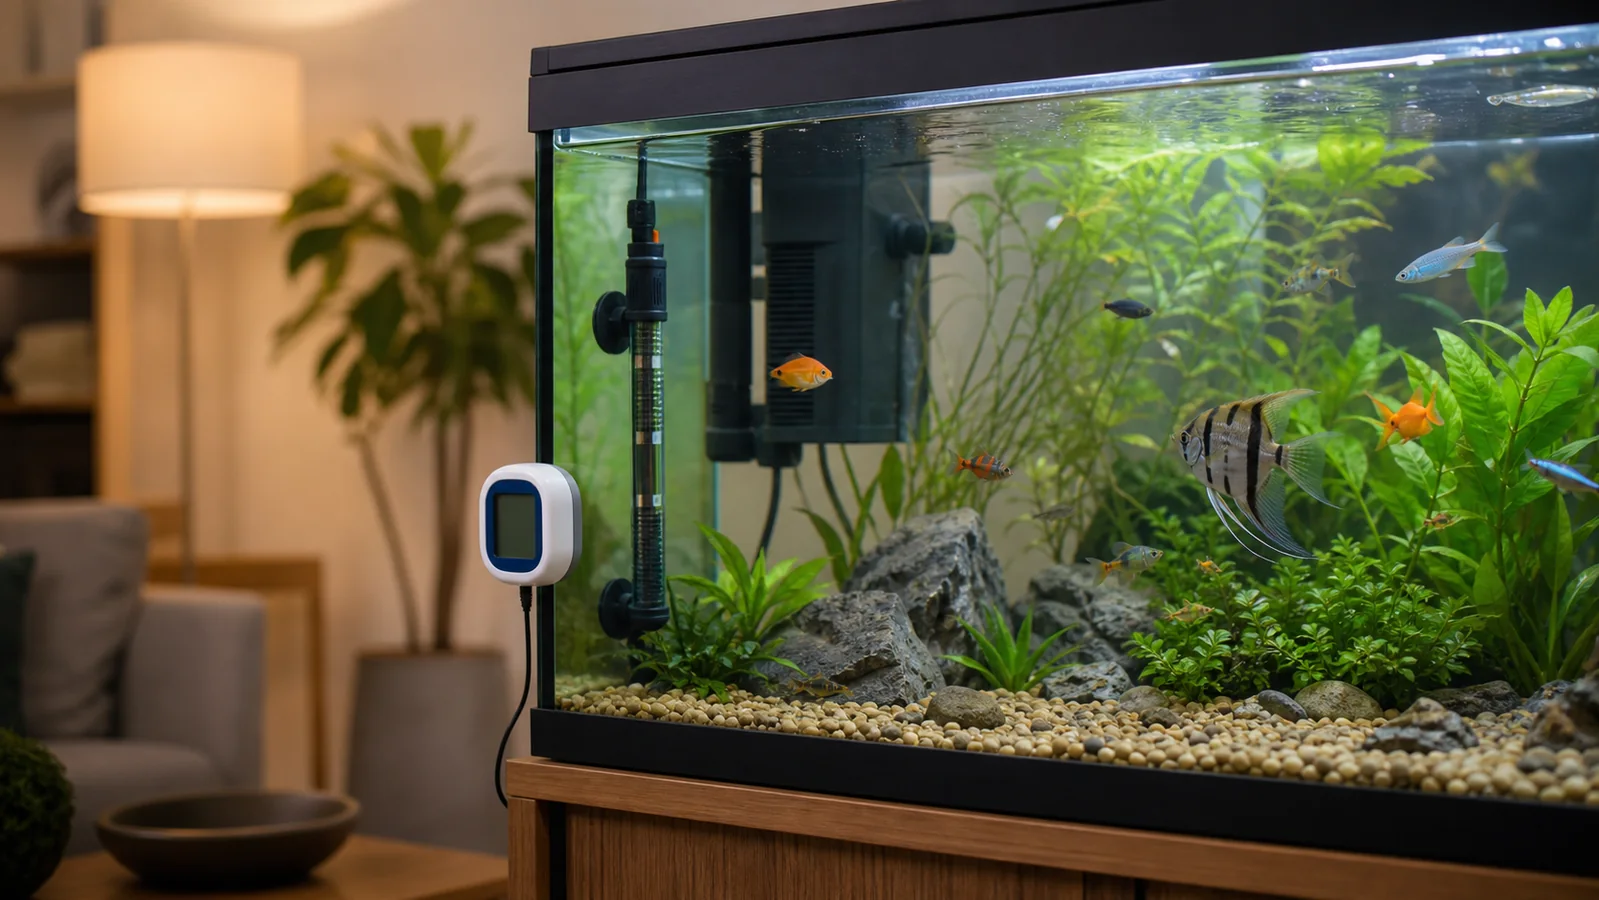
- Confirm the heater is rated for the tank and intended orientation.
- Place it where filtered water circulates, without touching substrate or decor.
- Allow required acclimation time before powering on.
- Verify with a separate thermometer at more than one location.
- Use a drip loop and keep plugs dry.
Water-change safety
Unplug the heater before lowering the water level and allow it to cool as the manual instructs. After refilling, make sure it is properly submerged and wait the specified time before restoring power. Thermal shock can crack glass heaters.
Related PetUpon guides
Compare aquarium heaters and use the maintenance checklist.
Use temperature rise, not climate labels
Measure the coldest room temperature near the aquarium over several days, including overnight. Subtract it from the species-appropriate target temperature. A tank in an air-conditioned room may require more heating than the same tank volume in a warm room. Lids reduce evaporation and heat loss, while open tops, drafts and large exposed surfaces increase them. Never raise temperature merely because a generic tropical preset says so; confirm the animals’ requirements.
One heater or two?
Two smaller heaters positioned in circulating areas can reduce temperature gradients and provide partial redundancy in a larger aquarium. They do not eliminate failure risk: if both are set too high, both can overheat the system. An independent temperature controller may add protection when compatible, but it must be correctly rated and its probe positioned securely. Daily thermometer checks remain essential.
Commissioning checklist
- Inspect glass, cable and plug for damage.
- Mount the heater with clearance from substrate and decor.
- Follow the required submersion and acclimation period.
- Set a conservative target and power it through a drip-looped connection.
- Measure temperature at both ends of the aquarium morning and evening.
- Adjust in small increments and wait for the whole water volume to stabilize.
Signs that need immediate action
Unplug and replace or professionally assess a heater with cracked glass, condensation where the design should be sealed, a damaged cord, exposed components or erratic switching. If aquarium temperature is unexpectedly high or low, verify with a second thermometer before making gradual, species-safe corrections. Sudden temperature changes can be more dangerous than a modest stable deviation.
How to verify that the change is working
Change one variable at a time and record the starting condition before adjusting equipment or routine. Note water-test results, temperature, livestock behavior, feeding, visible waste or algae, and the exact setting that changed. Recheck at a consistent time rather than reacting to a single observation immediately after maintenance. This creates evidence you can compare and prevents repeated changes from hiding the real cause.
Animal behavior is an important signal but not a substitute for measurements. Normal swimming, breathing and feeding should be considered alongside ammonia, nitrite, temperature and species-specific chemistry. If animals gasp, lose balance, develop lesions or die unexpectedly, treat it as a health or water-quality problem—not an equipment shopping problem—and seek qualified help.
Responsible equipment decisions
Buy for the mature aquarium, not only its current appearance. Confirm electrical certification, warranty, replacement parts, cleaning access and the manufacturer’s operating limits. Keep manuals and purchase dates in the maintenance log. Before replacing working equipment, identify the outcome you need and the measurement that will show improvement. A more expensive device cannot correct overcrowding, incompatible livestock, untreated source water or inconsistent husbandry.
After any installation, inspect cables, drip loops, leaks, unusual heat, vibration and restart behavior. Keep electrical connections dry and disconnect power before putting hands near damaged or exposed equipment. When the manufacturer’s instructions conflict with a general rule in this guide, follow the instructions for the exact model.
Frequently asked questions
Is five watts per gallon always correct?
No. Rules of thumb ignore room temperature, design and manufacturer limits. Use the model-specific sizing chart.
Where should the heater go?
Usually near steady circulation, while following the heater instructions for depth and orientation.
Should a large tank use two heaters?
Two appropriately sized units can spread heat and add redundancy, but both need correct controls, placement and monitoring.
Sources and editorial notes
- Aqueon: Freshwater Aquarium Water Quality
- Aqueon: The Nitrogen Cycle
- Fluval: Choosing a Freshwater Filter
PetUpon provides general aquarium education. Species needs and equipment instructions take priority; seek an aquatic veterinarian for illness or unexplained losses.