See also:
So, you are the proud owner of a cat and either they need special attention, or you feel they do, look no further! This do-it-yourself project is a great way to control exactly what your feline friend is getting everyday.
With the recent uproar in pet foods of a barrage of unwanted ingredients, it’s no wonder many people are turning to their own kitchen before running to the pet store.
Instead, make your own healthy, and much more cost efficient cat food right at home. But, be cautious because there are some things that don’t belong in your cat’s diet.
Do’s and Don’ts
The do not’s are easy to keep track of and avoid once you get the hang of preparing your cat’s food. Many pet owners find it’s easiest to prepare their food while doing their own meal prep. Then you clean the kitchen one time and can take everyone’s health needs into consideration.
So, for the do-not:
- Chocolate
- Bacon
- Bones
- Pork
- Raw egg
- Onion
- Canned Tuna
Some of these seem like common sense, like chocolate. But, when you see canned tuna on a don’t-feed-the-cat list you might begin to question us.
Yes, many people give their cats canned tuna. In fact, it’s not terrible if you do. But, use it as a treat. Canned tuna contains mercury and this can create deposits in your cat that will have long-term, negative effects on their health.
Raw egg is another one. For dogs, raw egg is used to shine up a dull coat or promote skin health. But, on many levels dogs and cats are not the same and require vastly different diets. Raw eggs are full of harmful bacteria.
Finally, an important note on onions. Onions are unexpectedly deadly to cats. Although they make our food delicious and aromatic, avoid putting them in any cat food you make.
For the dos:
- Beef
- Lamb
- Veal
- Chicken
- Cooked egg
Notice that it’s all meat? Well, that’s important because in the wild cats are carnivores. Although they will beg for anything on your couch, odds are if they were near stable food sources in the wild they’d be picky.
Using these meat bases with a variety of oils, and some filler you can make a very healthy cat food.
Step One: Find a Recipe, or Make Your Own
There are ton’s of free recipes for homemade cat food, but they all follow the same basic formula. Add meat with a bit of filler and some stock. Then cook them up together or blend them raw and serve.
Evaluating cooked diets, there isn’t a whole lot more than deciding which ingredients pack the biggest nutritional punch. Keep in mind too that cats, although beggars they are, are often picky about eating what is actually in their bowl. You may have to test a few recipes or tweak your own to suit your cat’s preferences.
Step Two: Gathering the Ingredients:
So you’ve settled on a recipe. Or if you haven’t, there’s not one particular site that has this down but WebMD has a few that are aimed at meeting your cat’s nutritional needs.
Generally speaking, a recipe calls for something like this:
- ½ pound of your meat choice
- ¼ rice or sweet potato
- 1-2 eggs (raw or boiled)
- 1 tablespoons of oil (preferably olive or coconut)
- 1 ½ cups of stock
Optional additions:
- Powder vitamins and minerals suchas for as Vitamin E or B
- Liver
- Organs
That’s right these optional additions are pretty gross. But, your cat will love them! When you’re at the store ask the butcher behind the counter for chicken, turkey, or rabbit organs. Usually, these are cheaper behind the counter and they are almost always cheaper than beef liver.
Don’t forget that adding in the liver or other organs is just adding more protein and nutrients. While you don’t want to give your cat all-meat, they will certainly appreciate feeling as if they’ve eaten an animal in nature.
Step Three: Cooking
We’re only evaluating cooked diets for a reason. Many raw diets have the potential to pass on a number of parasites and bacteria to your cats.
Yes, we know, there are many benefits to a raw diet and for some people that is the best option. But, before you jump on the raw diet train, contact your vet. Many of them can let you know which meats are least likely to cause harm in the long term.
After very finely chopping everything, you’ll only need two cooking skills. First, the ability to either cook rice or bake sweet potatoes and second the skill of boiling.
Cook the sweet potato or rice first and then mix that in with all the raw ingredients. Finally, place everything into one pot and allow it to reach a boil. After it reaches a boil turn the flame down and let it simmer until the meat is cooked through. This usually takes about twenty minutes.
Step Four: Portion Control
Portion control is important to homemade cat food. You don’t want your cat gaining excessive weight, so keep the portion down to what your cat would eat in one sitting. You should notice that it is less than a single can of cat food.
Happy Cooking!
You can make things much easier with a food processor but it’s not necessary. On a final note, homemade cat food usually lasts for about four days in the fridge. We hope this step-by-step guide has helped you understand how to make homemade cat food.
 Best Nail Clippers for Cats 2019
 Best Senior Cat Food 2019
 All About Persian Cats
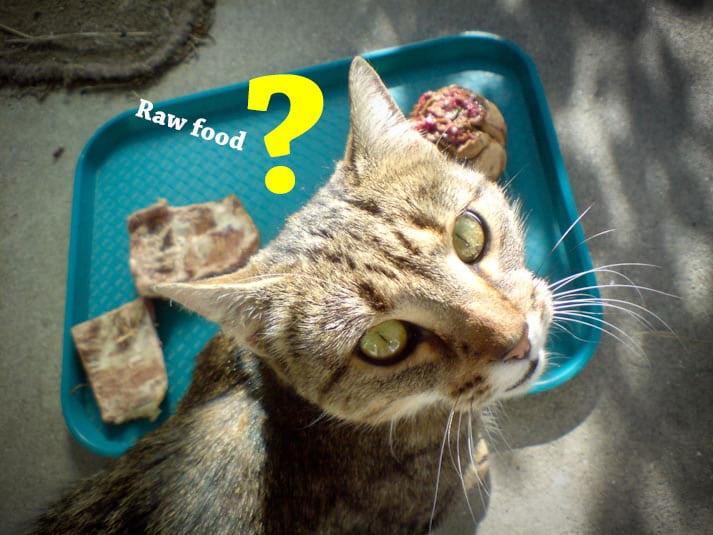 Best Raw Cat Food
 Best Cat Food for Hairballs
Leave a Reply