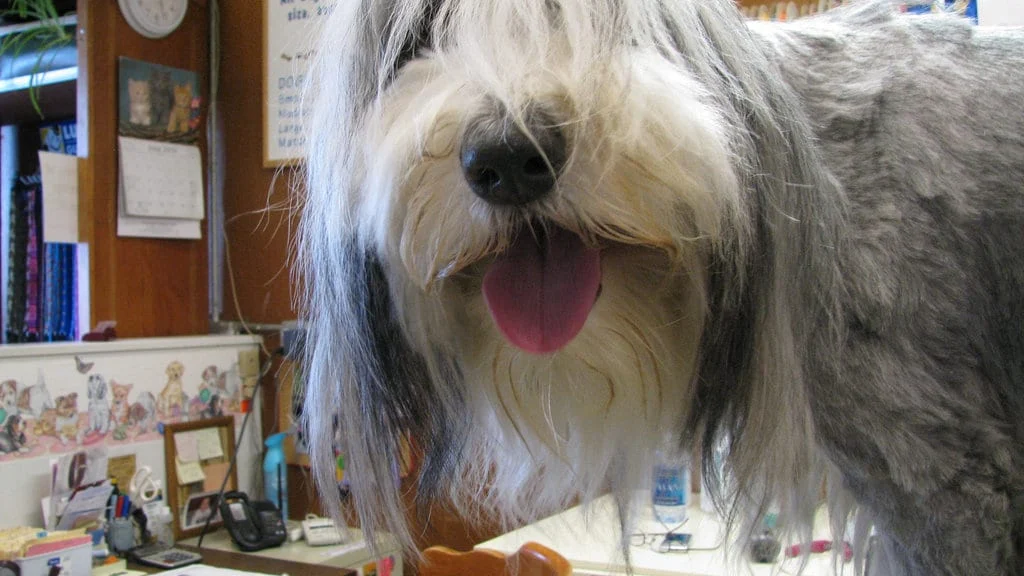
Most dogs can safely receive basic grooming at home: regular brushing, an occasional bath, nail maintenance, ear checks, dental care, and small touch-ups. The right routine depends on coat type, skin health, age, activity level, and how comfortable your dog is being handled. Full haircuts, severe mat removal, and work close to the eyes or skin are often safer with a qualified groomer.
What you need to groom a dog at home
Gather everything before bringing your dog into the grooming area. A short, calm session is more useful than a long session that becomes stressful.
- A brush suited to the coat: rubber curry brush for many short coats, slicker brush for loose undercoat and tangles, or pin brush for longer coats
- A stainless-steel comb to check whether tangles are fully removed
- Dog-formulated shampoo and, when appropriate, dog conditioner
- Several absorbent towels and a nonslip bath mat
- Dog nail clippers or a pet nail grinder, plus styptic powder
- Veterinarian-approved ear cleaner, cotton pads, and gauze
- A dog toothbrush and dog toothpaste—never human toothpaste
- High-value treats and a helper if your dog is large or nervous
A grooming table is optional. A stable surface with secure footing can work for brushing, but never leave a dog unattended on an elevated surface or attach an improvised restraint around the neck.
How often should you groom your dog?
There is no universal schedule. Smooth, short coats may need a quick brush once a week, while long, curly, silky, or double coats can need brushing several times a week—or daily in friction areas such as behind the ears, under the collar, the armpits, and the back legs.
Bathing frequency varies too. Bathe when the coat is dirty, oily, or noticeably odorous, following advice for your dog’s coat and any skin condition. Excessive bathing with the wrong product can dry or irritate skin. Dogs receiving medicated baths should follow the schedule provided by their veterinarian.
Nails should be checked frequently rather than trimmed on a fixed date. Nails that click on hard floors, alter the way a dog stands, or begin to curve need attention. Dogs that walk on abrasive surfaces may wear nails down faster, but dewclaws do not contact the ground and still require checks.
How to groom a dog at home, step by step
1. Help your dog feel safe before using any tools
Begin when your dog is relaxed. Let them investigate the brush, towel, clippers, or switched-off grinder. Briefly touch a shoulder, paw, ear, and tail, rewarding calm behavior. At first, a session may be only 30 seconds long.
Watch the whole dog, not just the body part you are grooming. Turning away, lip licking, yawning, a tucked tail, freezing, showing the whites of the eyes, or refusing treats can indicate discomfort. Pause before these signals develop into struggling or defensive behavior.
2. Brush and check the coat before bathing
Brush in the direction the coat grows, working in small sections. Support the skin near a tangle so the brush does not pull. Follow with a comb: if the comb cannot pass from the skin to the hair tips without catching, the coat is not fully detangled.
Do not bathe a badly matted coat. Water can tighten mats, making them more painful and harder to remove. Never place household scissors underneath a mat; folds of skin can be pulled into the tangle and cut accidentally. Dense mats, mats close to the skin, or matting around sensitive areas should be handled by a professional groomer or veterinary team.
While brushing, look for redness, dandruff, parasites, scabs, moist patches, foreign material, and new lumps. Note the location of anything unusual so you can discuss it with your veterinarian.
3. Bathe with lukewarm water and dog shampoo
- Place a nonslip mat in the tub or basin.
- Test the water on your inner wrist; it should be comfortably lukewarm.
- Wet the body gradually, avoiding direct spray into the eyes, nose, and ear canals.
- Apply dog shampoo according to its label. Work from the neck toward the tail and down the legs.
- Rinse thoroughly. Product left near the armpits, groin, feet, or under a dense coat can cause irritation.
- Use a damp cloth for the face instead of pouring or spraying water over it.
Human shampoo is designed for human skin and is not a good routine substitute. Never use human toothpaste either; some products contain xylitol, which is dangerous to dogs.
4. Dry the coat completely
Let your dog shake, then press towels into the coat. Rubbing long or curly hair aggressively can create tangles. If you use a dryer, choose a cool or low-warm setting, keep it moving, and maintain distance from the skin. Stop if your dog becomes frightened or the skin feels warm.
Brush long, curly, or double coats during the final stage of drying to prevent tangles and help separate the coat. Pay particular attention to areas that retain moisture, including the ears, armpits, groin, and between the toes.
5. Trim nails conservatively
Inside each nail is the quick, which contains blood vessels and nerves. It is easier to see in pale nails and difficult to judge in dark nails. Remove a very small amount at a time. With dark nails, stop when the center of the cut surface begins to look darker or changes texture.
For dogs worried by nail care, trim one nail and finish on a success. A grinder allows gradual removal but requires separate training for its sound and vibration. Keep hair away from rotating tools.
If you cut the quick, apply styptic powder and gentle pressure. Contact a veterinarian if bleeding is heavy, continues despite pressure, or the nail is split near its base. If you are unsure where to cut, ask a groomer or veterinary professional to demonstrate.
6. Check and clean the outer ears
Lift each ear flap and look for redness, swelling, discharge, debris, or a strong musty odor. Do not clean a painful or inflamed ear before speaking with a veterinarian, because infection, mites, a foreign object, or a damaged eardrum may require specific treatment.
For routine cleaning, use only a veterinarian-approved product and follow its label. Wipe material you can see with cotton or gauze. Do not insert cotton swabs or tools deep into the ear canal. Some dogs need more frequent ear care because of anatomy, swimming, allergies, or a history of infections; ask your veterinarian for an individual schedule.
7. Care for teeth, eyes, and paws
Brush teeth with dog toothpaste and a pet toothbrush, building up gradually toward frequent—ideally daily—brushing. Professional dental cleaning cannot be replaced by grooming, chews, or cosmetic tooth scraping.
Use a damp, soft cloth to remove ordinary debris near the eyes. Squinting, cloudiness, marked redness, swelling, or colored discharge needs veterinary attention. Check paw pads for cracks, cuts, foxtails, burrs, and compacted material. Trimming hair between paw pads can be risky when a dog moves suddenly; ask a professional to demonstrate before attempting it.
Should you clip your dog’s coat yourself?
Brushing and bathing are realistic for many owners. A full haircut requires more skill. Clippers can become hot, catch folds of skin, and injure thin-skinned areas. Double-coated dogs generally should not be shaved merely to keep them cool; the coat has protective functions, and regrowth can be unpredictable.
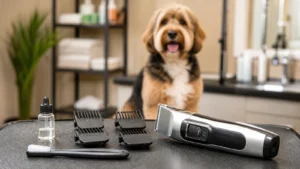
If your dog’s breed needs regular haircuts, ask a professional groomer to show you which maintenance tasks are safe between appointments. Our guide to human clippers versus dog clippers explains why tools designed for people are usually a poor choice for a dog’s coat.
When to use a professional groomer
Choose professional help when your dog has severe matting, a difficult coat, a history of biting during handling, mobility or breathing problems, very overgrown nails, or needs work around the eyes, genitals, paw pads, or other sensitive areas. Senior dogs and flat-faced breeds may require shorter sessions and special handling.
A reputable groomer should ask about health and behavior, explain what is realistic for the coat, keep equipment clean, and tell you about any skin, ear, nail, or body changes noticed during the appointment. A veterinarian is the right first call when grooming discomfort may be related to pain or illness.
A simple home grooming schedule
| Task | Useful starting point | Adjust for |
|---|---|---|
| Coat check and brushing | Weekly; more often for long, curly, silky, or double coats | Coat type, shedding, friction areas, outdoor activity |
| Bath | When dirty or as advised | Skin conditions, lifestyle, coat type, product instructions |
| Nail check | Every 1–2 weeks | Growth rate, exercise surface, dewclaws |
| Ear check | Weekly and after swimming | Ear shape, allergies, infection history |
| Tooth brushing | Build toward daily | Veterinary dental plan and dog tolerance |
Frequently asked questions
Do you brush a dog before or after a bath?
Brush and detangle before bathing. Water can make existing mats tighter. Long, curly, and double coats often benefit from another gentle brush as they finish drying.
Can I use human shampoo on my dog?
Use a shampoo formulated for dogs unless your veterinarian gives different instructions. Human products may irritate canine skin, and human medicated products can contain ingredients or concentrations inappropriate for pets.
What if my dog hates being groomed?
Reduce the difficulty. Pair brief handling with rewards, introduce one tool at a time, and stop before your dog becomes overwhelmed. A force-free trainer, veterinarian, or experienced groomer can help create a cooperative care plan.
Sources and editorial notes
- American Kennel Club: How to Groom a Dog at Home
- American Kennel Club Chief Veterinarian: Home Grooming Dos and Don’ts
- American Kennel Club: How to Trim Dog Nails Safely
PetUpon substantially reviewed and rewritten this guide in August 2026. Grooming and health recommendations can vary by individual dog; confirm concerns with your veterinarian or qualified groomer.
1 thought on “How to Groom a Dog at Home: A Safe Step-by-Step Guide”